
Half-Life 2 Mapping
Tutorial: Converting .TGA to .VTF
Ok, so you either created your own TGA texture or used my .VTF to .TGA tutorial to extract a TGA texture from a VTF material to edit and you want to convert it to a .VTF file to use in the Hammer Editor and in game. This tutorial will show you how.
info: VTF stands for Valve Texture File
Half-Life 2 textures are now referred to as materials, so we'll call them that from now on. All Half-Life 2 materials are essentially TGA files inside of the .VTF file. TGA is one of the more versatile image formats allowing for regular texture you might have used in Half-Life 1 mapping like JPG's and also allows for transparent areas which could only be achieved, in Half-Life 1 mapping with the GIF format. Some versions of Photoshop however will not be compatible with Alpha Layer option TGA's. To fix this, Adobe.com has a download for the old TGA format. Each material is made up of two files, the .VTF which is the actual texture and a .VMT text file, which you can open with Notepad. The .VMT file is used to tell the game engine and the Hammer editor necessary information about the material you wish to apply in the editor and render in the game. Basically, if you are making a wood texture, information in the .VMT file will tell the game engine that when you shoot or walk or interact with this material in game, it will have wood properties. You will only need the .VTF file in order to convert a material to a .TGA.
In this tutorial,
I'm going to create a State Of Chaos bill board texture. I will be using
Photoshop to create my TGA.
Step 1:
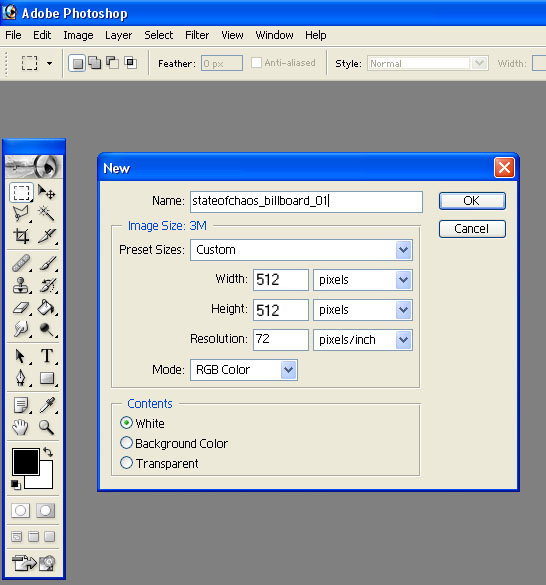
Create a new image, 512 pixels by 512 pixels.
click on image to enlarge
Step 2:
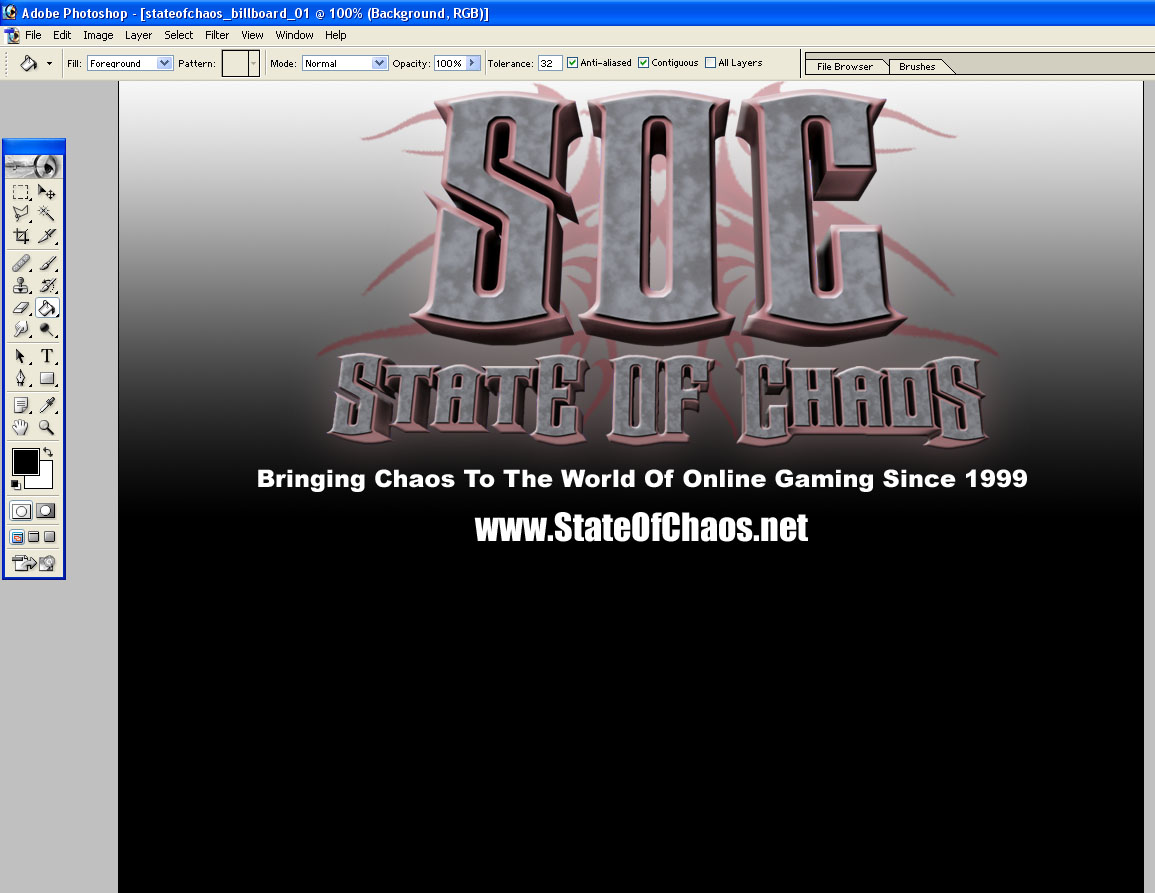
Create your masterpiece! Below is what I threw together quick to use in a sample map for this tutorial.
Click on image to enlarge
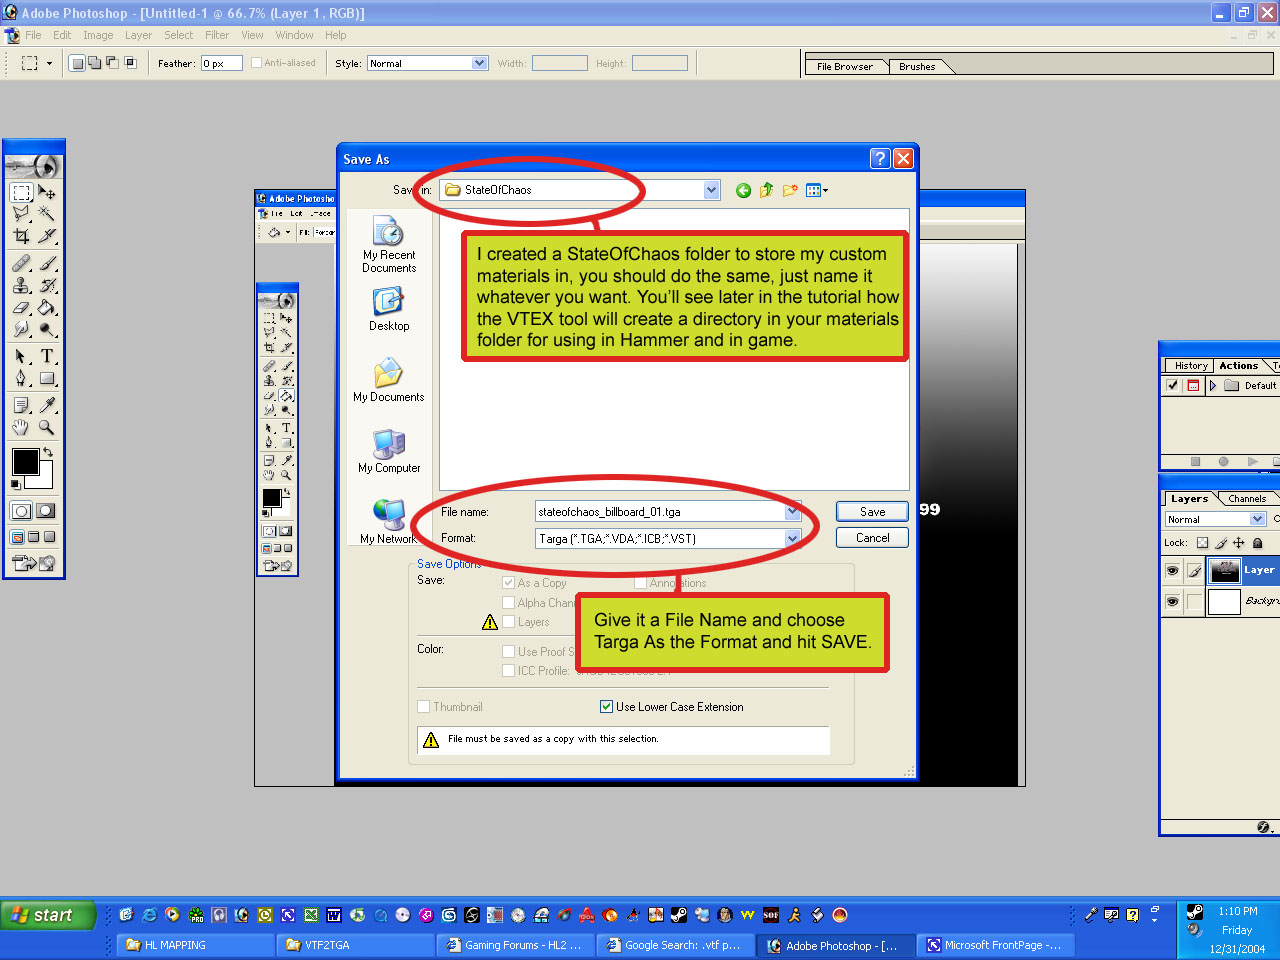
After you've created your texture, you'll need to save it. Best if you create a directory for your custom TGA's in the following directory:
Program Files\Valve\Steam\SteamApps\username\sourcesdk_content\cstrike\materialsrc\StateOfChaos
So, in the image below, you'll see we created a directory named StateOfChaos, so our path to the TGA is:
Program Files\Valve\Steam\SteamApps\username\sourcesdk_content\cstrike\materialsrc\StateOfChaos
Of course, if you're mapping for HL2DM or another mod, you'll need to change the directory after sourcesdk.
Click on image to enlarge
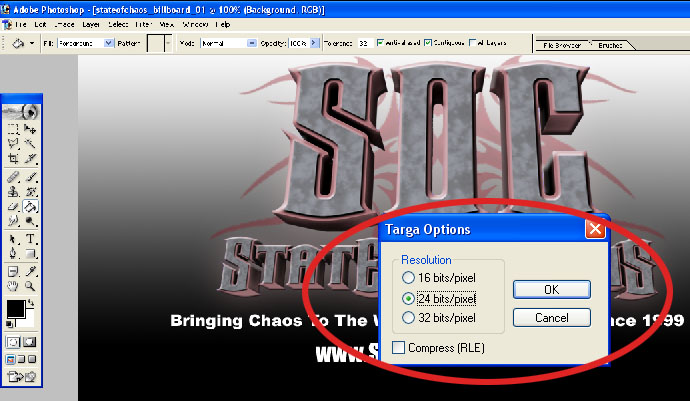
Choose 24 Bit and hit OK
Click on image to enlarge
Congratulations, your TGA is now saved.
Step 3:
Now its time to use the VTEX tool provided with the SourceSDK to convert your TGA to a VTF. The VTEX tool is located in this folder:
Program Files\Valve\Steam\SteamApps\username\sourcesdk\bin
Open two Windows Explorer windows so you can just drag your TGA onto the Vtex tool. In the image below, you'll see how.
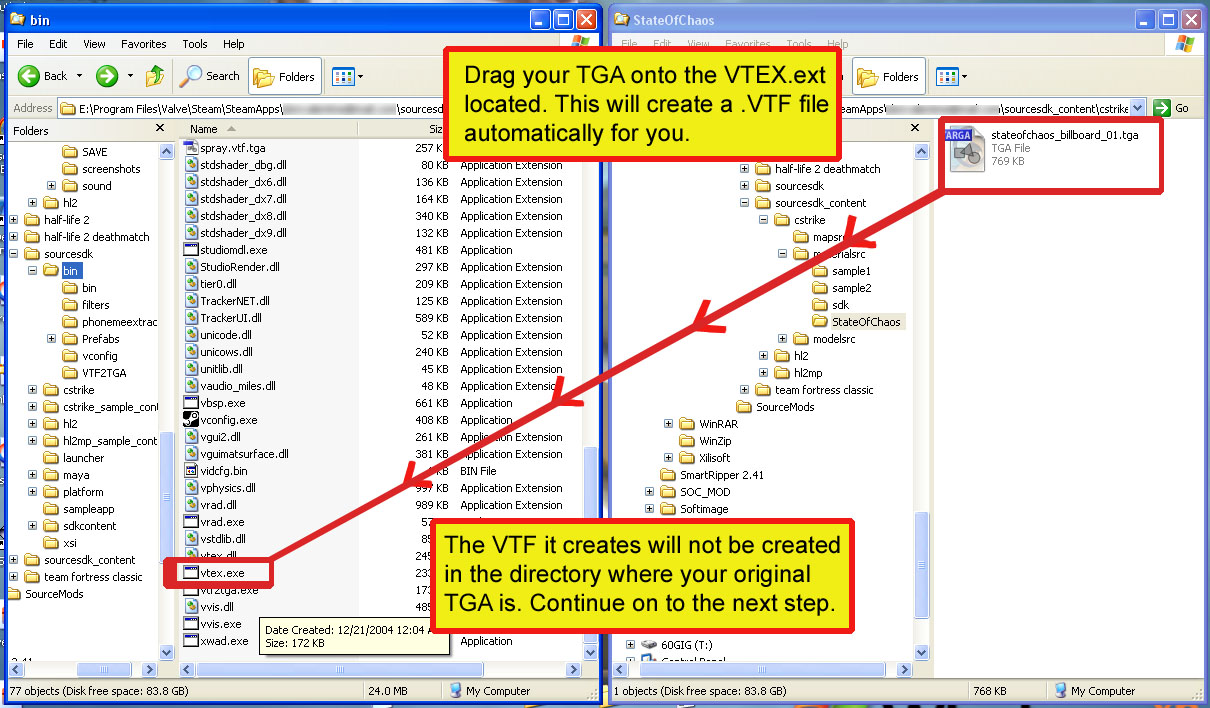
Click on image to enlarge
Step 4:
Now you have your .VTF created, but you still need to create a .VMT for it. Since this texture was created for the Counter-Strike Source mod, we will find the .VTF in the following directory:
Program Files\Valve\Steam\SteamApps\username\counter-strike source\cstrike\materials\StateOfChaos
Create a new text document in that directory, give it the same name as your .VTF material, like in this example:
material name is: stateofchaos_billboard_01.vtf so make your text file name: stateofchaos_billboard_01.vmt
It will warn you that you are changing the extension and that it may become unusable, its ok to hit YES.
Step 5:
Open the .VMT file you created, it will be blank. We're going to just put the basics so that you can use it in the Hammer Editor and in game.
This is what you'll need to copy and paste into that VMT file, changing the directory and filename to match your setup of course.
"LightmappedGeneric"
{
"$baseTexture" "StateOfChaos/stateofchaos_billboard_01"
}
Save the file and you're done. Check out the following two images, first one is the texture in the Hammer Editor and the second one is the texture in game.
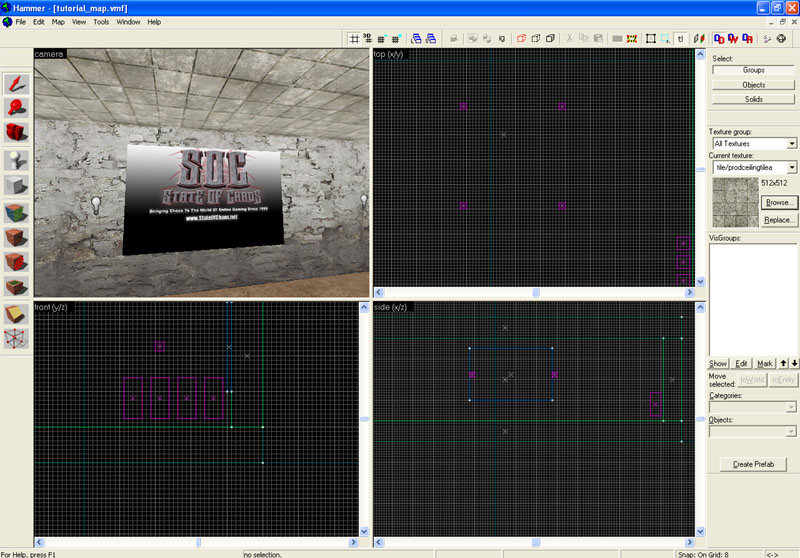
Click on image to enlarge
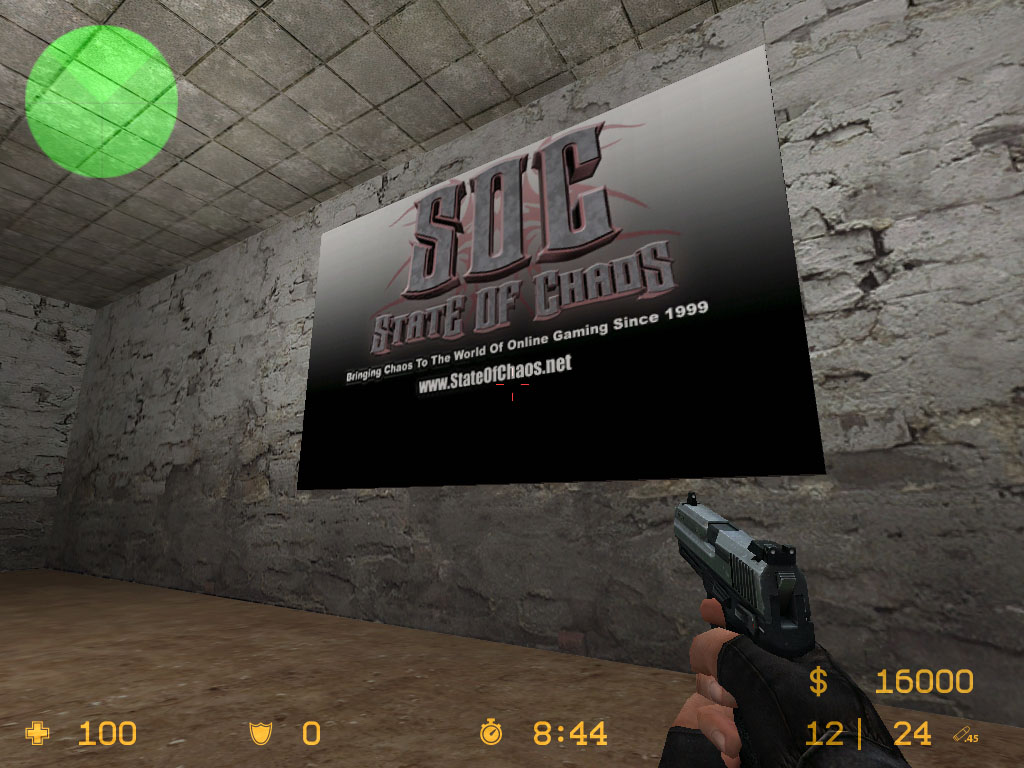
Click on image to enlarge
What about converting .VTF to .TGA? I have already created a tutorial for that. You can find it on main page or just use the link below..